Creating the Questionnaire: Custom Variables
PIPED TEXT, CONDITIONAL TEXT AND EMBEDDED DATA
This feature is available with a PREMIUM plan
About Custom Variables
Custom variables enable you to show different content at various points in the questionnaire (questions, texts, etc.) depending on the profiles and / or respondent’s answers to previous questions.
There are 3 different types of custom variables in our platform:
- Piped Text, to display the response to a previous question.
- Conditional Text, to display personalized content based on one or more previous responses.
- Embedded Data, to display personalised content based on a URL parameter extracted from the shared link.
1 – Create a new Custom Variable
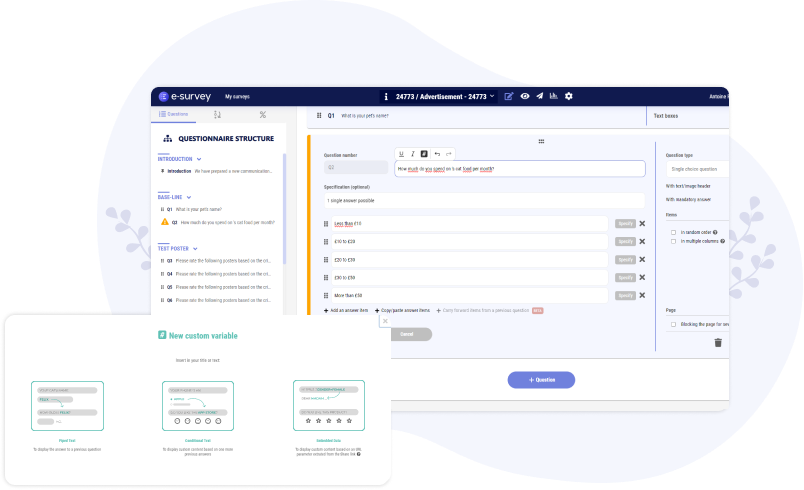
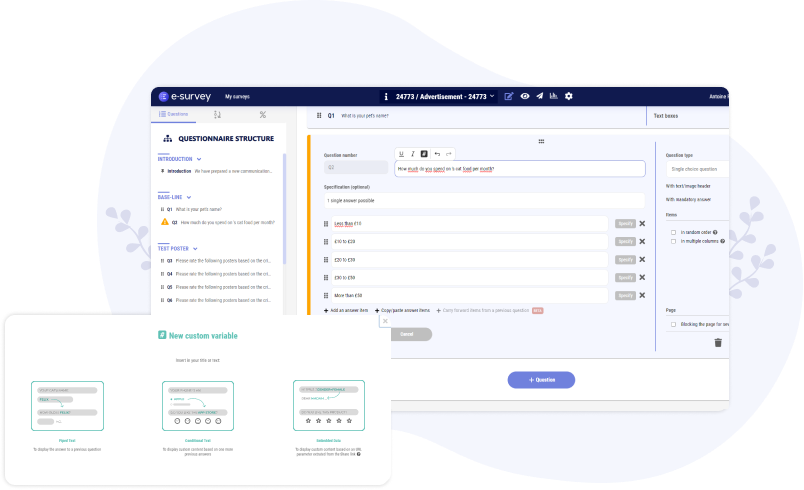
In the "Questions" tab, place your cursor where you want to insert the new variable, whether it's in a question title, a response option, or any other text (transition page, header text of a question, etc.), then click on the symbol #
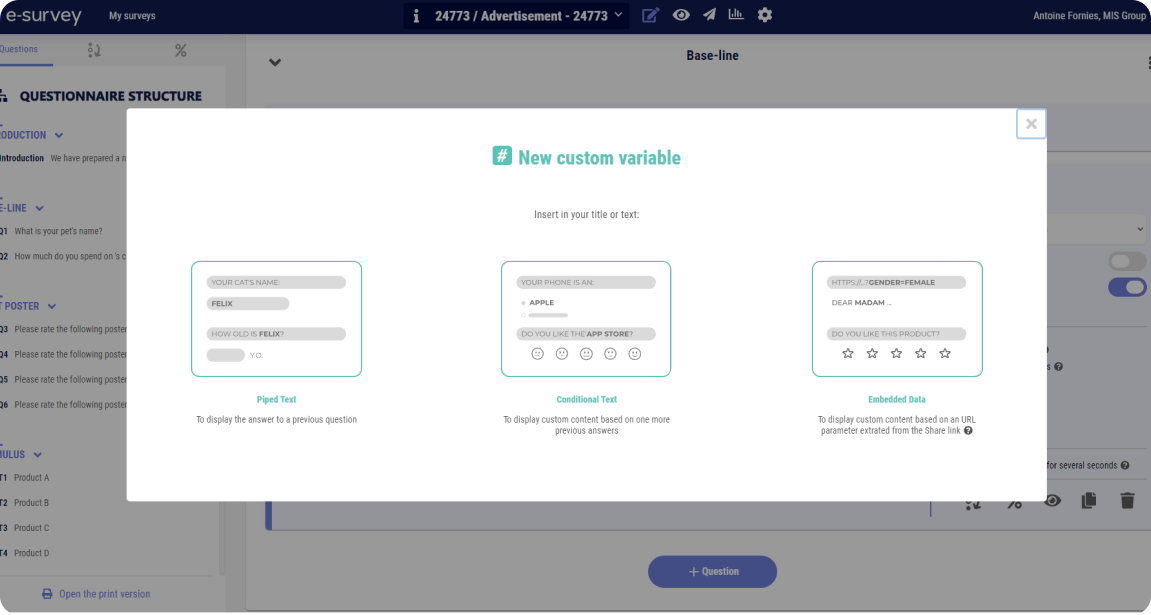
A window will then appear with some explanations.
Click on the "Create a Custom Variable" button.
2 - Choose the type of Custom Variable
Choose the type of custom variable you want to insert among the 3 options provided.
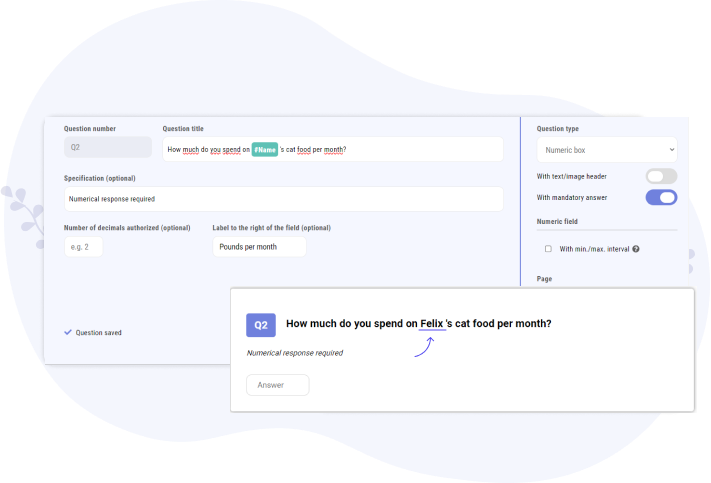
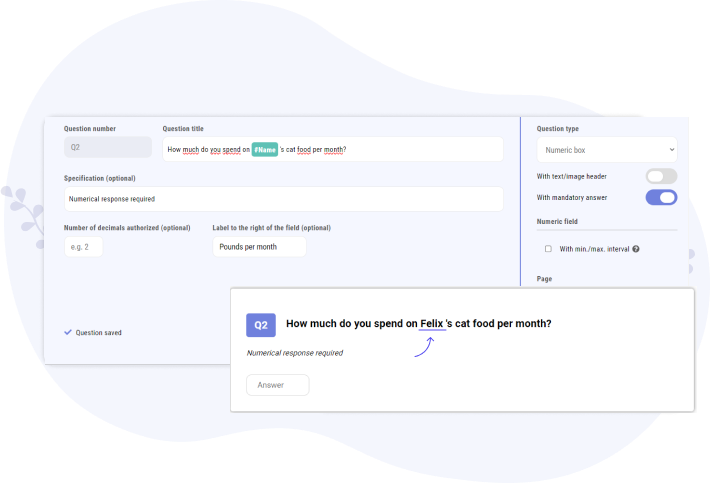
Piped Text allows you to display (word for word), at the chosen location, the response(s) that have been checked in a previous question. They also allow displaying freely entered responses from previous questions. For example, if a respondent indicates in Q1 that the name of their cat is "Felix," they could see in Q2 and subsequent questions personalised titles like "What monthly budget do you spend on purchasing Felix's food?"
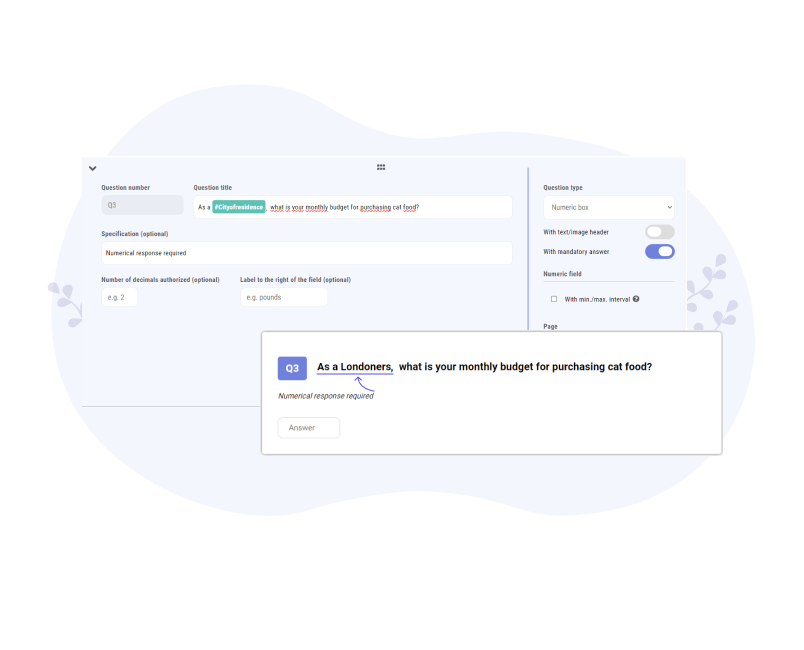
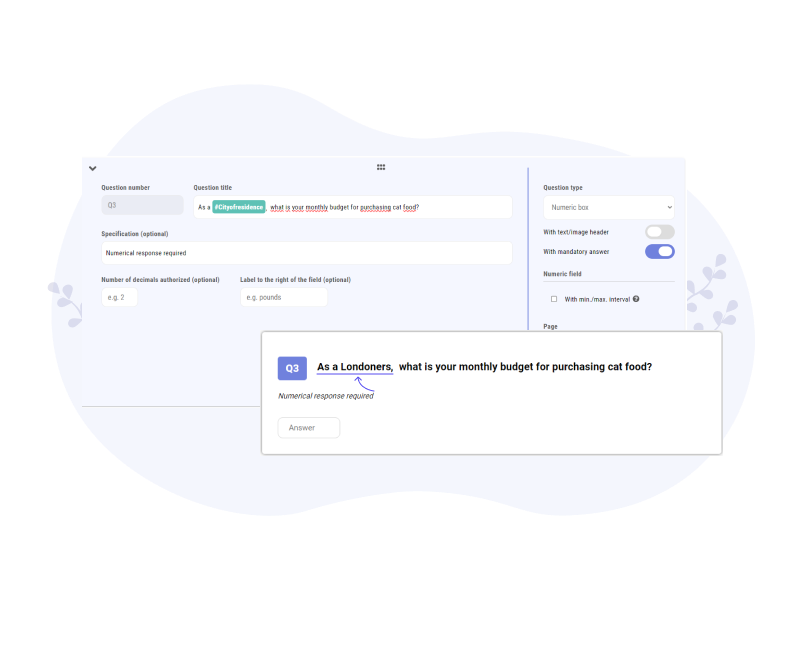
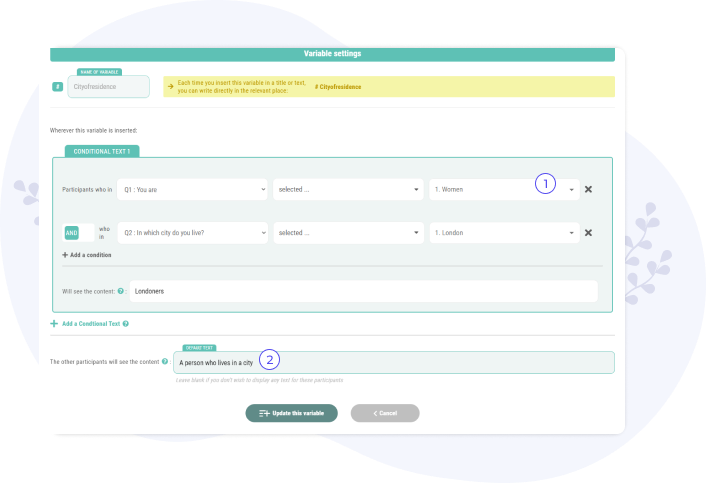
Conditional Text allows you to display different content based on the responses that have been checked in one or more previous questions. For example, if a respondent selects "Female" in Q1 and "London" in Q2, then they could see, in the titles of Q3 and subsequent questions, the text: "As a resident of London ..."
Embedded Data allows you to display different content based on URL parameters extracted from the survey's sharing link.
This type of variable requires adding URL parameters (of your choice) to the end of the initial sharing link, and then distributing the survey to respondents with different links (based on respondent profiles).
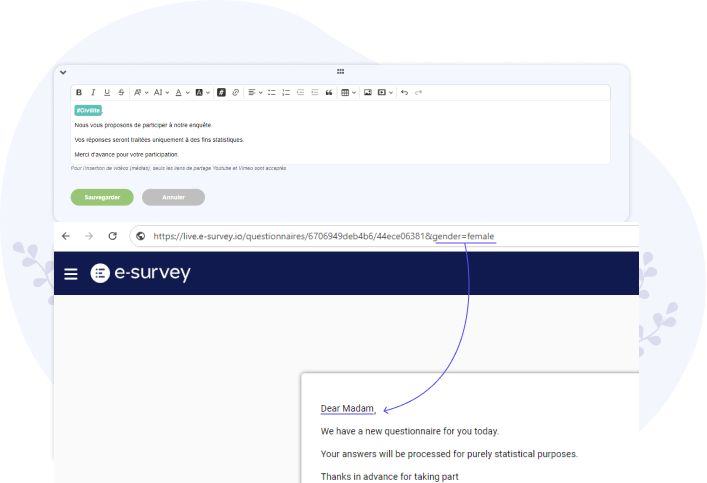
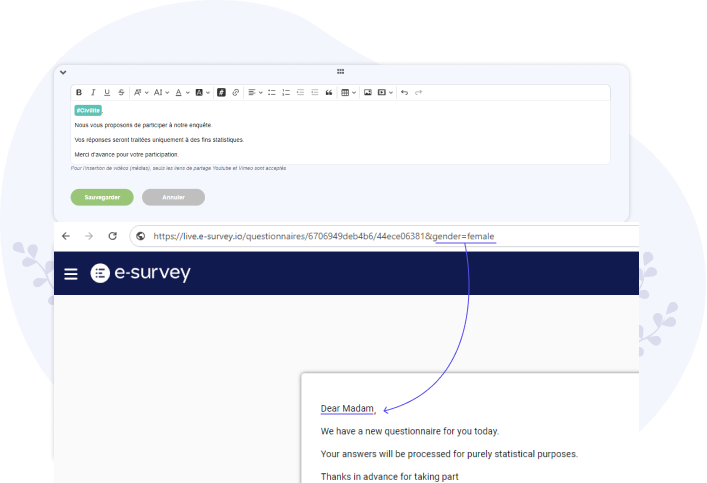
Thus, by sharing the survey with a specific link for women and a specific link for men, it will be possible to display personalized content in the questionnaire based on the gender of the participants (for example, in the survey introduction: "Dear Madam ..." or "Dear Sir ...").
3 – Setting up a Piped Text variable
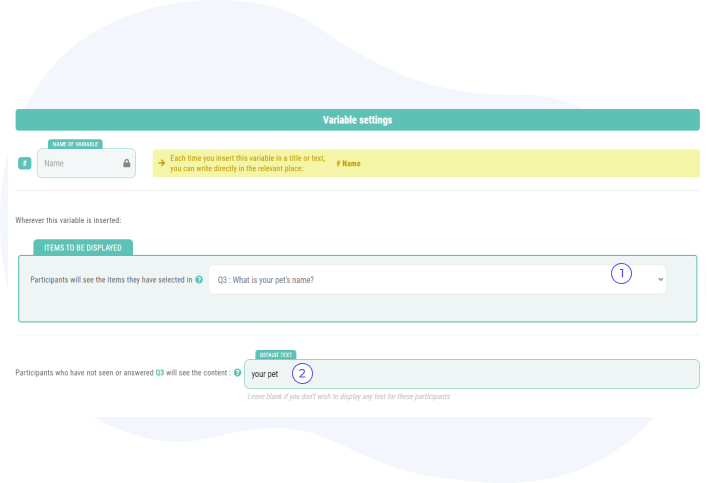
1- The Piped Text variable is the simplest to configure. Just select the question from which you want to retrieve the responses, and you're done!
2- By default, respondents who have not seen the relevant question (or who have seen the question but have not responded) will see a blank text wherever the variable is inserted.
However, for these respondents, you can choose to display specific content (e.g. display "your cat" to respondents who did not give the name of their cat).
4 – Setting up a Conditional Text variable:
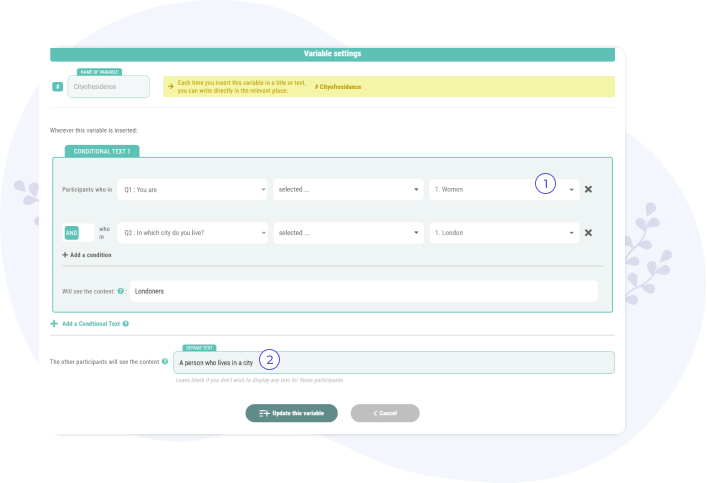
1- Configure the Conditions by selecting the responses that respondents must check to fulfill these conditions and thus see the specific content you want to present to them.
For example, if you ask for respondents' Gender in Q1 (e.g., Male, Female, Other), and then their City of residence in Q2 (e.g., London, Birmingham, Manchester, Leeds, etc.), you can set up a condition like this:
If "Female" is checked in Q1
AND "London" is checked in Q2»
Wherever the variable is inserted, respondents who meet the conditions (Female AND London) could, for example, see the content "As a resident of London".
Then, those who meet the conditions (Male AND Manchester) could see the content "As a resident of Manchester", and so on.
If the variable is inserted at the beginning of the title of Q3, it could look like this:
"As a Londoners, do you feel safe in your city?"
"As a resident of Manchester, do you feel safe in your city?"
2- By default, respondents who do not meet any of the configured conditions will see a blank text wherever the variable is inserted. However, for these respondents, you can also choose to display specific content to them.
5 – Setting up an Embedded Data variable
1- The Embedded Data variable requires adding URL parameters to the end of the initial survey sharing link.
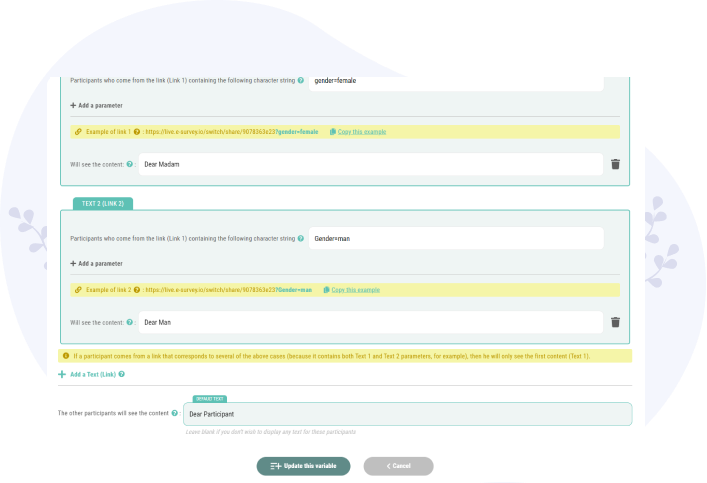
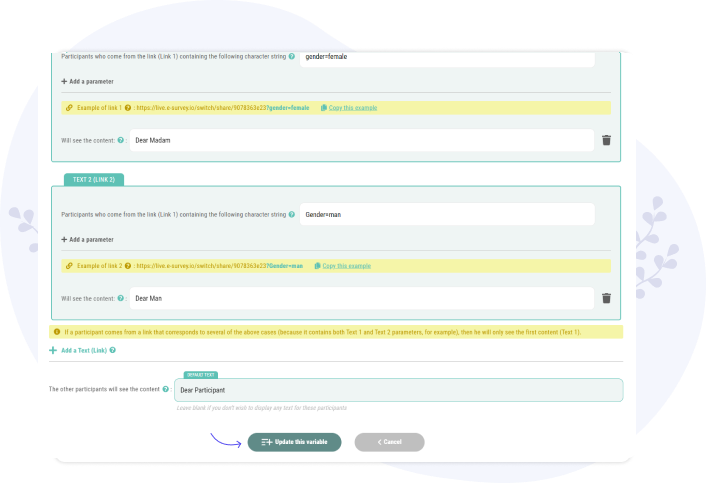
You should start by creating these parameters, indicating for each of them their name and value (and making sure to add the "=" sign between the name and the value). For example, you can create a parameter like: "gender=female" ("gender" being the parameter name, and "female" being the parameter value).
Next, you can share the survey with women in your network (via email, on your social media platforms, etc.) by providing them with the link with the parameter like this:
“https://live.e-survey.io/switch/share/example123?gender=woman”
This link corresponds to the initial sharing link, available on the "Distribution" page of the survey, to which we have added at the end the "?" sign followed by the parameter "gender=female".
Therefore, female respondents coming from the link with the parameter "gender=female" will be able to see specific content wherever the variable is inserted, such as "As a woman".
It is also possible to add multiple URL parameters in a single sharing link (e.g., "gender=female" AND "city=London").
2- By default, respondents who do not come from a link with the registered URL parameters will see a blank text wherever the variable is inserted. However, for these respondents, you can also choose to display specific content to them.
6 - Insert the new Custom Variable
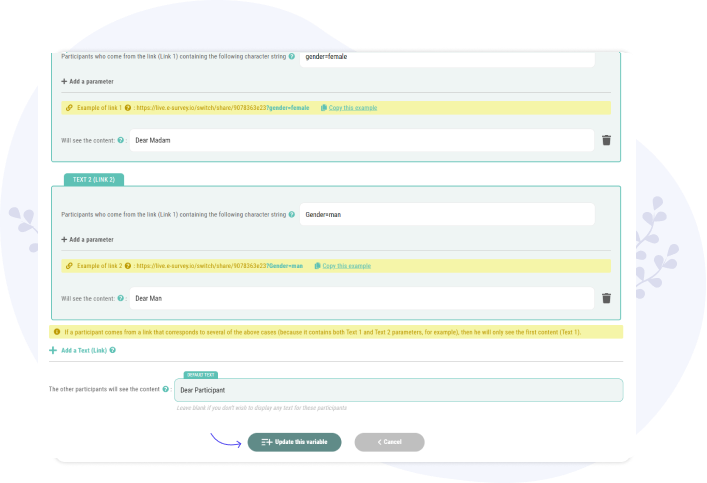
Once the variable is created, click on the "Insert this variable" button to add it to the location where you initially positioned your cursor.
The variable will then be inserted at that location, preceded by the symbol. #
7 – Insert the same variable in other places
The created variable can be inserted in other parts of the questionnaire.
To insert the variable in other places, you just need to:
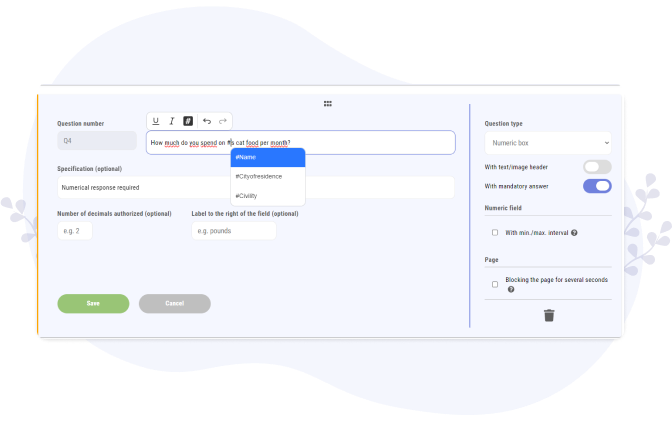
1- Click on the # symbol: a window will then open with the list of all created variables (simply click on the "Insert this variable" button to add it to the chosen location).
Or 2- directly enter the # symbol with your keyboard at the chosen location; the list of available variables will then appear directly at the cursor, and you can simply select the variable to insert.
8 – Know the content that has been viewed by respondents
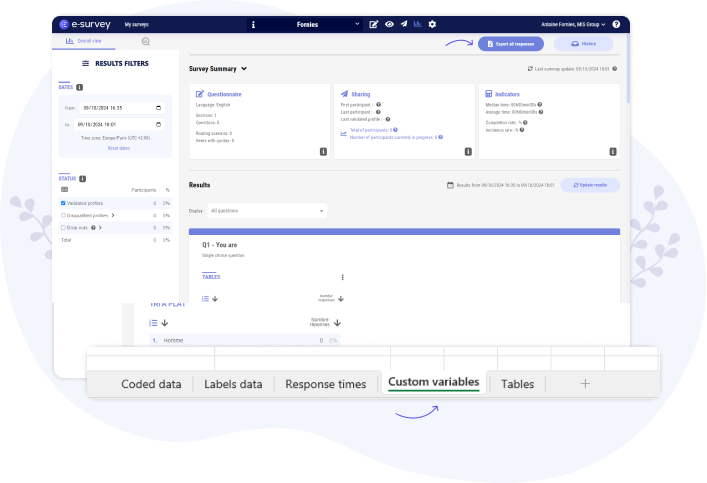
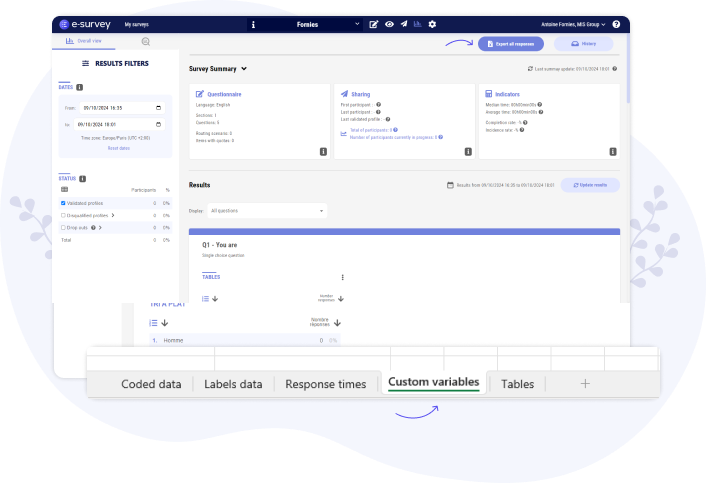
To find out which content each respondent has seen (where the custom variables were inserted), you just need to export the responses (to Excel) from the Results page.
In the export, you will find a tab labeled "Custom Variables" with, for each respondent, the content they have seen in place of each variable.

